Installation
I suggest to use HashiCorp Packer for automating the provisioning of client nodes if you need to maintain a lot of nodes. I'll provide an example as soon as i have time.
Requirements
Running Nomad IIS has the following system requirements:
- Windows Server 2016+
- Using Windows 10 also works but is not recommended in production.
- IIS 10
- Up to date Nomad Cluster
Currently i only test against the latest versions of Nomad, although older versions down to 1.6 might work.
Install Windows Server Core without the Desktop Experience to save RAM.
Install Windows IIS
You can use the following Powershell script to install IIS on your machine.
$features = @(
    "IIS-WebServerRole",
    "IIS-WebServer",
    "IIS-CommonHttpFeatures",
    "IIS-HttpErrors",
    "IIS-HttpRedirect",
    "IIS-ApplicationDevelopment",
    "NetFx4Extended-ASPNET45",
    "IIS-NetFxExtensibility45",
    "IIS-HealthAndDiagnostics",
    "IIS-HttpLogging",
    "IIS-LoggingLibraries",
    "IIS-RequestMonitor",
    "IIS-HttpTracing",
    "IIS-Security",
    "IIS-RequestFiltering",
    "IIS-Performance",
    "IIS-WebServerManagementTools",
    "IIS-IIS6ManagementCompatibility",
    "IIS-Metabase",
    "IIS-ManagementConsole",
    "IIS-BasicAuthentication",
    "IIS-WindowsAuthentication",
    "IIS-StaticContent",
    "IIS-DefaultDocument",
    "IIS-WebSockets",
    "IIS-ApplicationInit",
    "IIS-ISAPIExtensions",
    "IIS-ISAPIFilter",
    "IIS-HttpCompressionStatic",
    "IIS-ASP",
    "IIS-ServerSideIncludes",
    "IIS-ASPNET45"
)

Enable-WindowsOptionalFeature -Online -FeatureName $features
By default, Windows will setup a default Website and some Application Pools when installing IIS. If you don't need them, you can remove them by running:
Remove-IISSite -Name "Default Web Site"
Remove-WebAppPool -Name ".NET v4.5"
Remove-WebAppPool -Name ".NET v4.5 Classic"
Remove-WebAppPool -Name "DefaultAppPool"
Enable feature delegation for Anonymous Authentication in the host configuration of IIS by running:
Set-WebConfiguration //System.WebServer/Security/Authentication/anonymousAuthentication -metadata overrideMode -value Allow
This is not needed for Nomad-IIS to run, but may be required by some workloads like our sample application.
Setup Windows Firewall
Nomad client will dynamically allocate ports on your machine in the range 20000-32000. Therefore we need to open these ports on the Windows Firewall by running:
New-NetFirewallRule -DisplayName "Allow Nomad Dynamic Ports 20000-32000" -Action Allow -Direction Inbound -Protocol TCP -LocalPort 20000-32000
Nomad Client Installation
Follow the official tutorials from HashiCorp to install a Nomad Client on your Windows Server.
https://developer.hashicorp.com/nomad/tutorials/windows
Download Nomad IIS
Download the latest version of the Nomad-IIS plugin from the Releases page at GitHub.
If you want to use the Management API, you need to download nomad_iis_mgmt_api.zip.
Otherwise you can download the smaller file nomad_iis.zip which contains the exact same features, except the Management API.
Extract the ZIP-file and copy the nomad_iis.exe into your configured plugin directory.
Configure Nomad IIS
Add the following snippet to your Nomad client configuration file and restart the client.
plugin "nomad_iis" {
  config {
    enabled = true
  }
}
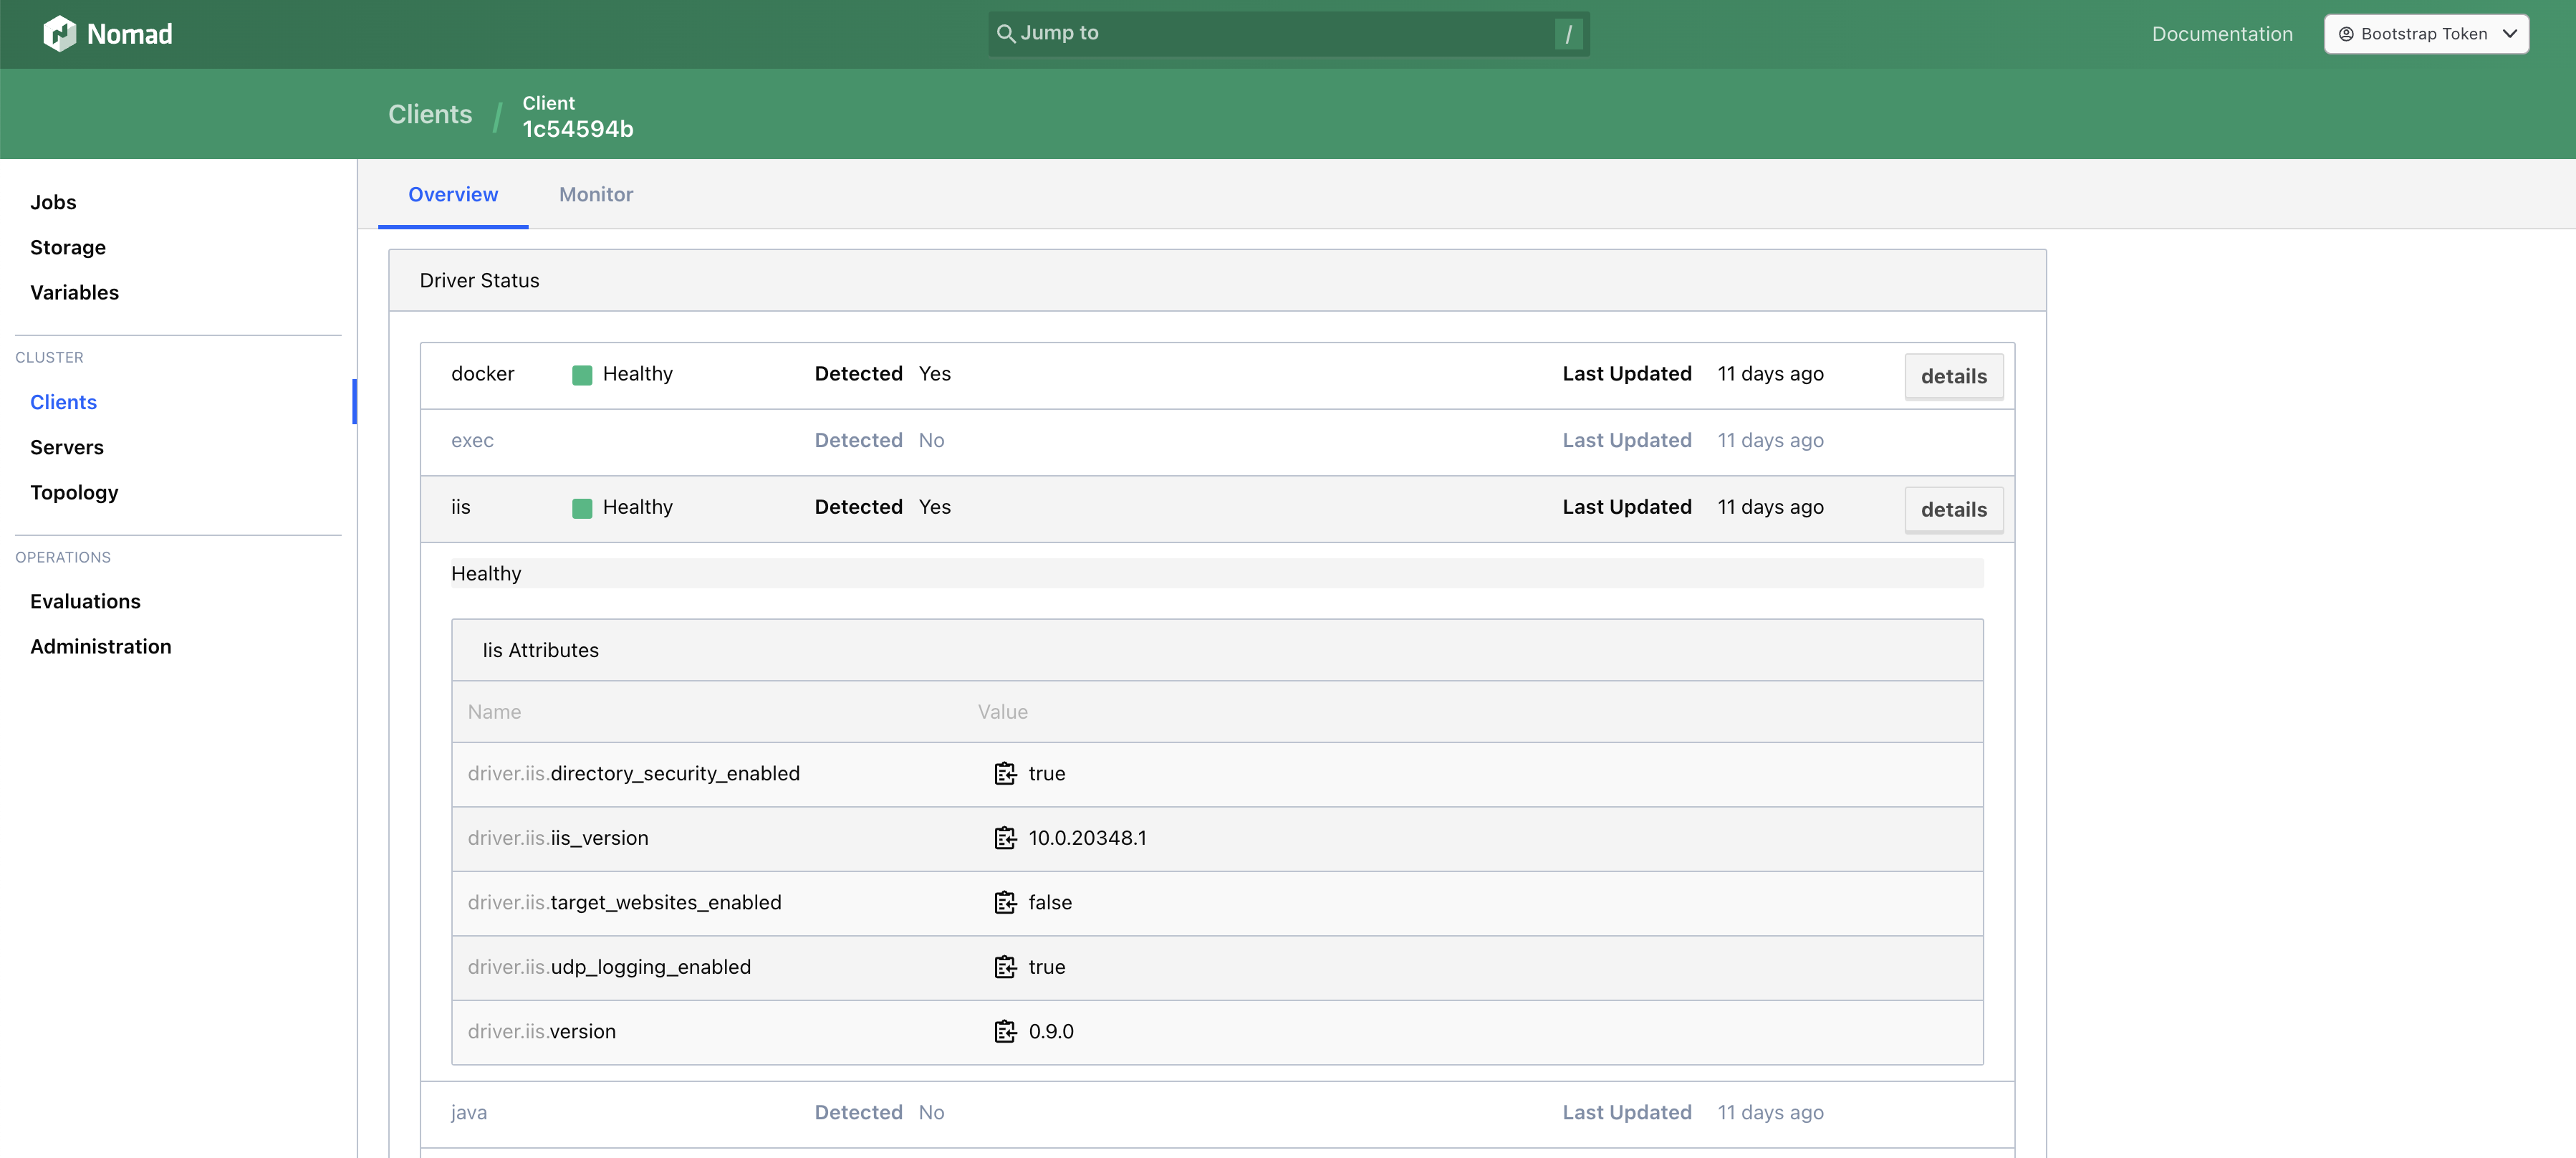
After you've restarted the client, open the UI of your Nomad cluster and navigate to the client. The IIS driver should now be healthy and report some version stats.